Cold-Weather Stud Welding: Control Moisture, Materials and Equipment
Cold weather can change surface and equipment conditions during stud welding. Control condensation, prepare materials consistently and investigate weld changes.
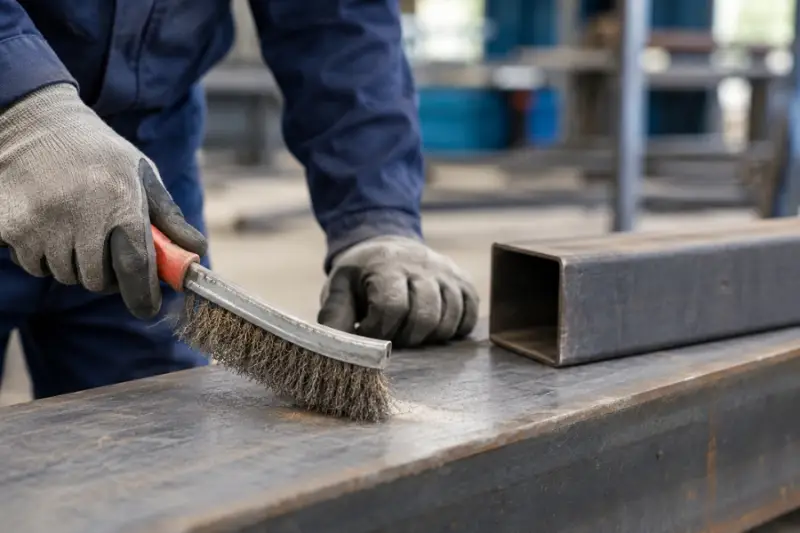
Cold weather changes the conditions around a stud weld, even when the welding process itself remains the same. Cold base metal, condensation, contaminated surfaces and equipment exposed to low temperatures can all make production less predictable. Manufacturers can manage those variables through consistent preparation, environmental control and checks against validated procedures.
The practical issue isn’t temperature alone. A cold component brought into a warmer shop can collect moisture, while a shipment may arrive after exposure to changing temperatures. Either condition can leave parts unready for welding. Teams should assess the material, work area and equipment together before production, rather than treating winter as a reason to make an unverified change to welding settings.
Start with the work surface
Inspect the base material for condensation before welding. If moisture is present, dry the surface. Then remove oil, grease, dirt, rust, paint and other contaminants using a method suited to the material and the applicable production requirements. The welding location must provide a suitable contact area for the selected fastener and process.
Repeat the same preparation across the production run. Consistent surface conditions help limit variation between welds, particularly when temperature and humidity shift during a shift. A clean, dry surface gives the process a better starting point; it does not replace the need to follow the established welding procedure.
Incoming material deserves its own check. Parts that have travelled in a cold vehicle may encounter a substantial temperature difference when they reach a heated facility. Don’t assume they’re ready for immediate welding. Allow them to reach a stable working condition when needed to prevent condensation or other surface problems. The suitable stabilization period depends on the material, storage conditions, environment and production setup; there isn’t one universal wait time.
Keep moisture and temperature changes in view
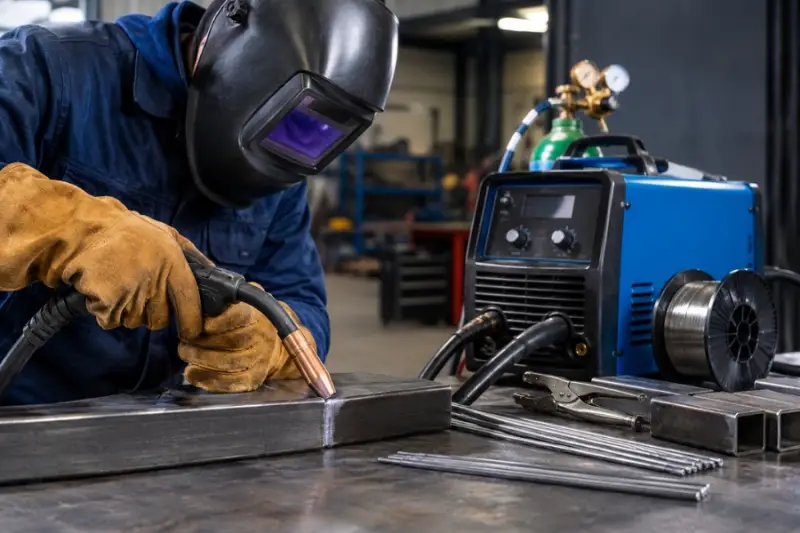
Condensation forms when cold metal meets warmer, humid air. Moisture on the weld surface can interfere with the process, so materials should be dry before operators begin. Protect parts, studs and related stud welding accessories from rain, snow, damp air and contamination, and store them in a clean, dry area.
An enclosed workspace can offer steadier conditions than an exposed outdoor location, and heating a work area may help reduce temperature swings and condensation. But rapid or uneven heating can create another transition for the workpiece. Let materials reach a stable condition, and follow the manufacturer’s equipment recommendations and the production procedure for the specific application.
When weld quality changes, record the environmental conditions alongside observations about the material and process. Temperature, humidity and surface cleanliness can help explain a change. That information gives the team a more useful basis for troubleshooting than temperature alone.
Check the equipment and process as a system
Cold conditions don’t remove the need for compatible fasteners and suitable equipment; they make process control more important. For applications using CD studs, operators should follow the recommended equipment settings and material preparation requirements. The fastener type doesn’t remove the need to verify the conditions at the weld location.
Before production, inspect the welding equipment and confirm that it operates as expected. Cold storage or transport can affect components such as cables and controls. Check the setup against its specified operating conditions and the procedures used for the job. A short pre-production verification can help catch equipment problems before they interrupt a run.
If the appearance or attachment of a weld changes after a temperature shift, pause to investigate. Look for surface moisture or contamination, check fastener storage, review equipment condition and settings, and assess the work environment. Compare results with the established production standard. Don’t raise welding energy simply because conditions are cold: an unexplained parameter change can introduce a new problem or take the process outside its validated range. Document adjustments and the observations that prompted them.
Make winter checks repeatable
A written winter checklist can keep operators aligned as conditions change. It can cover incoming material inspection, condensation removal, surface cleaning, storage of studs and accessories, equipment checks and weld inspection. Clear, documented steps also help new operators understand the precautions expected during colder production periods.
Northland Fastening Systems frames cold-weather stud welding as a process-control task involving material storage, surface preparation, equipment condition, environmental conditions and welding parameters. That’s a useful way to organize the work: review each factor together, follow the validated procedure and use the equipment supplier’s recommendations where they apply.
Cold weather doesn’t automatically prevent stud welding, but it can expose gaps in preparation and process control. Keeping materials dry, allowing temperature-sensitive parts to stabilize, verifying the setup and watching for changes in weld appearance gives teams a practical basis for maintaining consistent production. If the process changes, investigate the cause before adjusting parameters.
 AMD Venice Uses 2.5D Packaging to Feed More Bandwidth Into EPYC Zen 6
 CNC Controller Board Design: Interfaces, PCB Specs and Assembly Testing
 Stratasys and Nano Dimension End $42.5 Million Markforged Sale Agreement