Install Ubuntu Desktop on Raspberry Pi: Hardware, Setup and Apps
Ubuntu Desktop runs on Raspberry Pi 5, 500, 4 and 400 boards with at least 4 GB of RAM. Here’s how to install it and get started.
Ubuntu Desktop gives a Raspberry Pi a familiar general-purpose Linux desktop, but it asks more of the hardware than Raspberry Pi OS. The practical starting point is a Raspberry Pi 5, 500, 4 or 400 with at least 4 GB of RAM, plus suitable storage and a power supply. Raspberry Pi Imager handles the installation image; a setup wizard completes the configuration on the first boot.
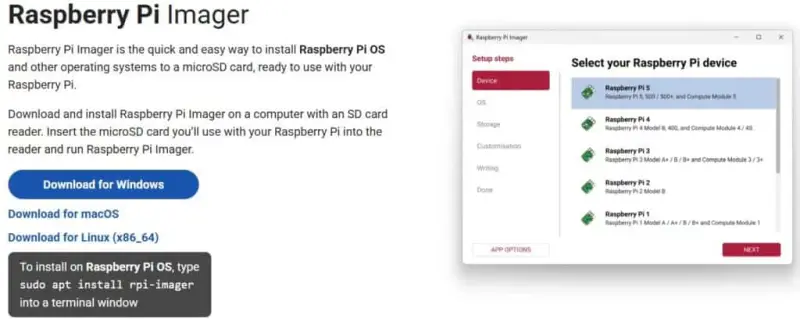
The steps below use the Ubuntu Desktop 26.04 image listed in Raspberry Pi Imager. The available versions can change, so choose the current Desktop image shown for your board and check its hardware recommendations before writing it. A 64-bit Desktop image is intended for the Pi 5, 500, 4 and 400.
Check the hardware first
Ubuntu Desktop has a graphical environment and a fuller set of desktop services, so a recent Raspberry Pi is a better fit than an older or lower-memory board. The recommendation is at least 4 GB of RAM. A Pi 5 is the preferred option in the source guidance; a Pi 4 or Pi 400 is also suitable. With less memory, or with a Raspberry Pi 3B+, Ubuntu Server or Ubuntu Core may be a more practical base. Those installations let you add only the software you need.
For storage, prepare a microSD card with at least 16 GB of capacity; 32 GB is recommended. A USB drive or NVMe drive can also be selected in Imager. External storage can increase the demand on the Pi’s power supply, so use an adequate supply for the board and attached devices. The recommendation is the power supply made for the corresponding Raspberry Pi model, or one that provides the same input power. A phone charger of unknown capability can lead to unstable operation.
You’ll also need a keyboard and mouse for the desktop setup. A conventional PC keyboard and mouse are fine. A compact keyboard with an integrated touchpad is another option where desk space is limited.
Raspberry Pi Imager can run on another computer or on a Raspberry Pi. If you only have one Pi available, the source describes using that board to prepare storage, including through network boot. In the usual setup, download Imager from the Raspberry Pi software page and install it on a computer before connecting the storage device.
Write Ubuntu Desktop to storage
Raspberry Pi Imager downloads the chosen operating system and writes it to the selected drive. Launch the program, then work through its device, operating system and storage selections. The device selection tells Imager which Raspberry Pi you’re preparing; choosing the matching board helps it present a suitable image.
- Choose the device. Select the Raspberry Pi model that will run Ubuntu Desktop.
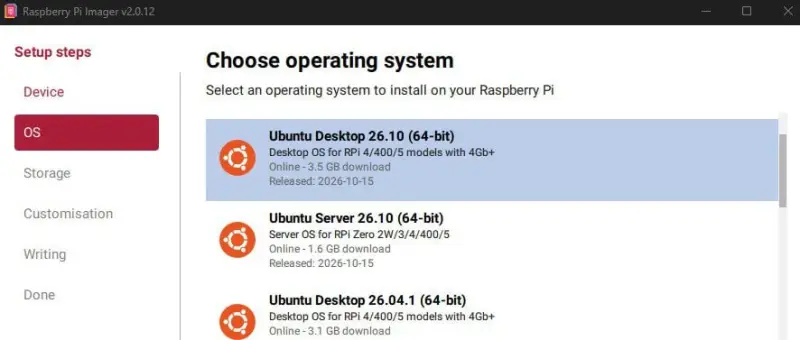
- Choose the operating system. Open Other general-purpose OS, select Ubuntu, then choose Ubuntu Desktop. Review the hardware guidance displayed for each version and select one that matches the board.
- Choose the storage. Select the microSD card, USB drive or NVMe storage device that will hold the installation.
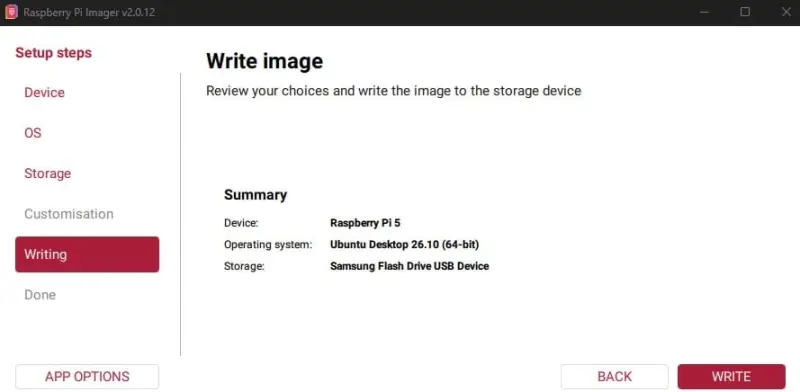
- Review and write. Check the selections, then click WRITE. Confirm the erase prompt only after checking that the selected drive is the one you intend to overwrite.
Imager downloads the image and writes it to the drive. The time depends on the image size, internet connection and storage speed; the source gives 15 to 30 minutes as a typical range for Ubuntu Desktop. Once writing finishes, Imager verifies the files and reports whether the drive is ready. Eject it from the computer and insert it into the Raspberry Pi.
Complete the first boot
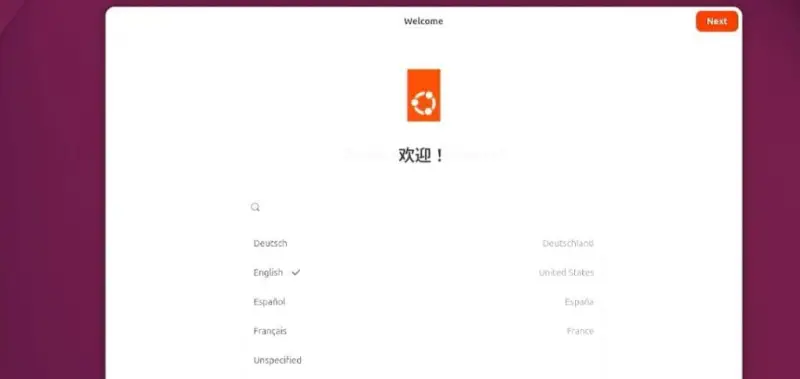
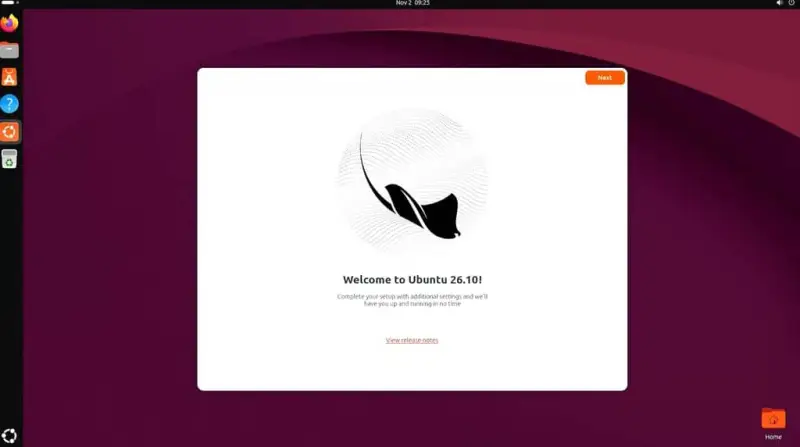
Writing the image doesn’t finish the installation. Ubuntu opens a first-run configuration wizard when the Pi starts from the new storage. Connect a display, keyboard and mouse, power on the board, then follow the prompts.
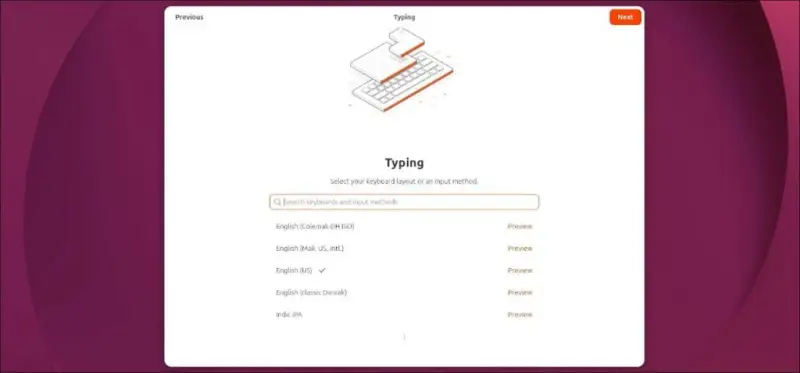
Start by choosing a language. Next, check the keyboard layout. If there’s any doubt, type a few characters in the test area before continuing; a mismatched layout can make passwords and commands difficult to enter correctly.
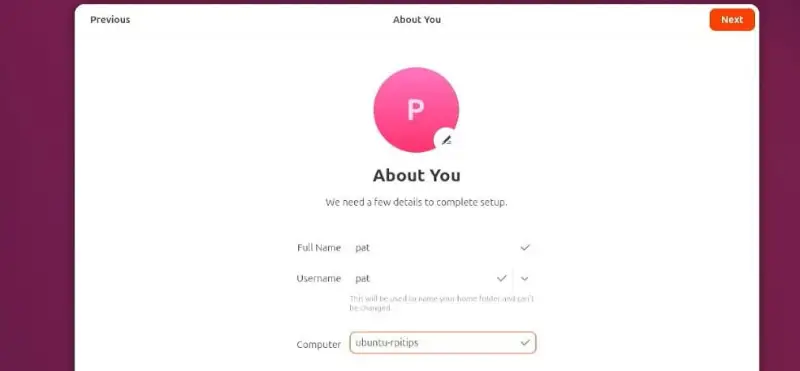
If the Pi isn’t connected to Ethernet, the setup may ask you to join a Wi-Fi network. Connecting at this stage gives Ubuntu access to updates and makes it easier to install applications later. Then create a user account by setting a username, password and computer name. Ubuntu applies the configuration in the background, which can take a few minutes.
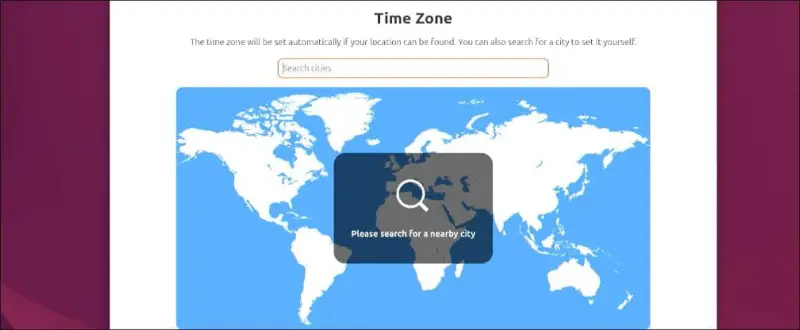
The wizard may offer to connect online accounts for syncing items such as calendars and documents. That step is optional and can be skipped; accounts can be added later. Check the time zone as well. Ubuntu may select it automatically, but you can adjust it during setup if it’s wrong.
When the configuration completes, Ubuntu Desktop opens to its graphical session. If an update prompt appears, it can be handled after the desktop loads.
Find your way around the desktop
The default interface is organized around a dock on the left side of the screen and a panel across the top. The dock holds shortcuts to commonly used applications. You can remove shortcuts you don’t need and add others as your work changes.
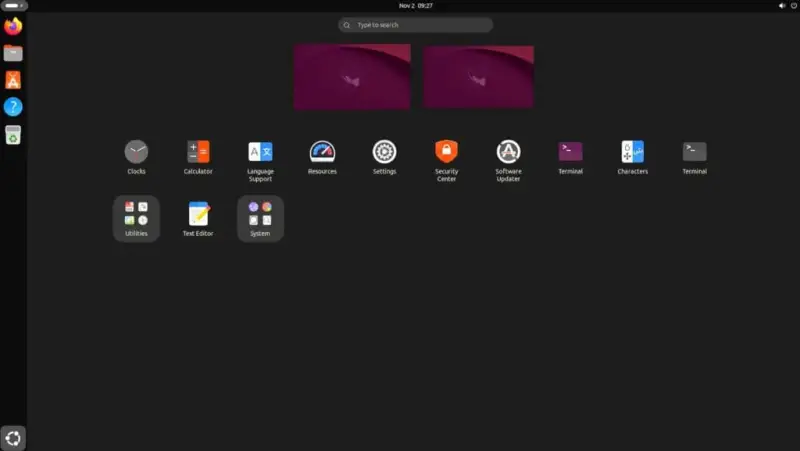
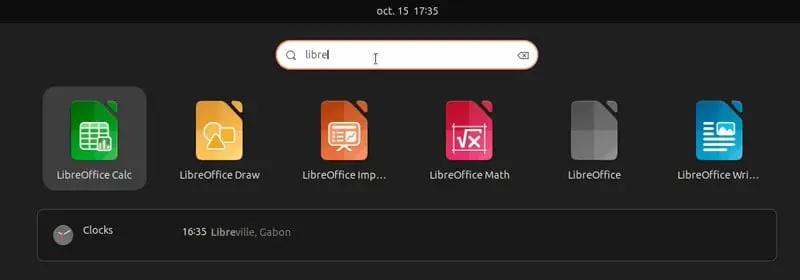
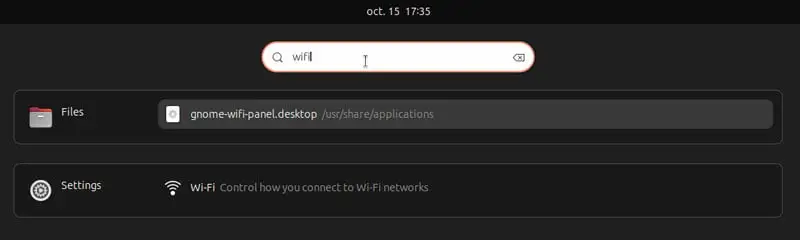
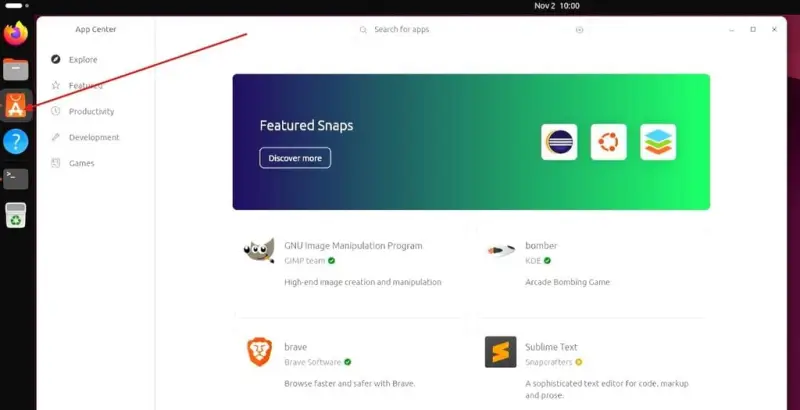
The grid icon near the bottom of the dock opens the applications view. It provides access to installed programs, with frequently used applications surfaced first. Browse the application pages or search by name. Search can also locate files and system settings, which is useful when you know what you want to change but don’t remember where Ubuntu placed the control.
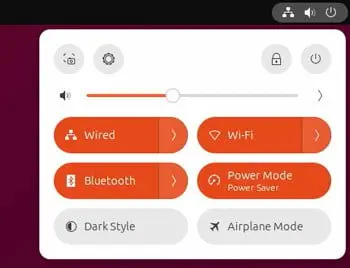
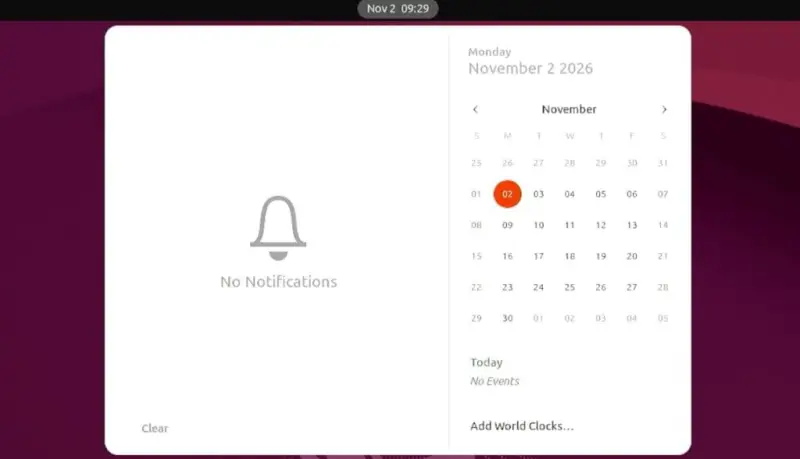
The top panel puts the date and time in the middle. Selecting it opens the calendar and notifications. Near the upper-right corner are controls for network connections, sound, power and session actions such as signing out or restarting.
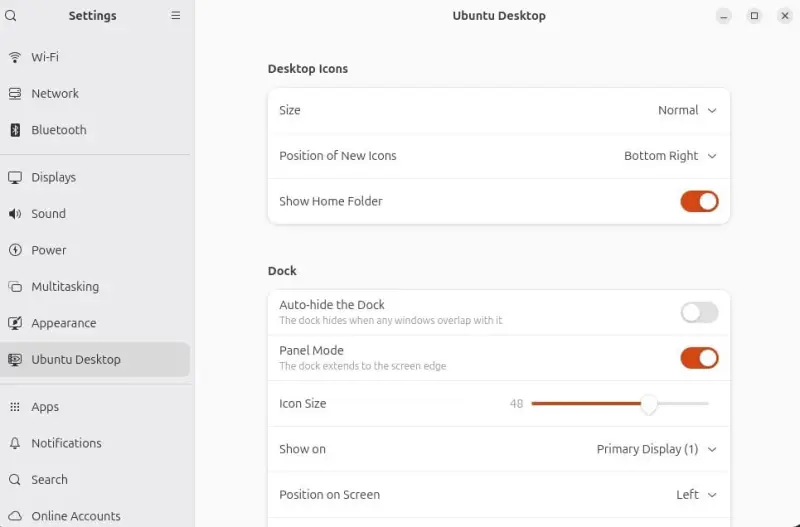
System configuration lives in the Settings application. Open it from the application list, or use the control in the top-right menu. Categories appear in a left-hand list, and search can help find an individual setting. The dock, applications view, top panel and Settings app are the main places to learn first; once those are familiar, everyday navigation is straightforward.
Update the installation
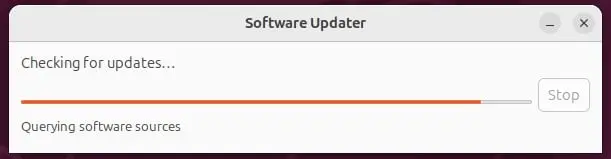
Ubuntu may offer system updates after the first session starts, provided the Pi has an internet connection. If no prompt appears, search the application list for Software Update. Review the available updates, choose the install option and enter the account password when prompted. The system checks for updates periodically, so the notification may return later.
Keeping the system current is a useful early task, particularly after installing from an image that may have been prepared some time before the first boot. The source recommends applying updates when practical, at least about once a month. The exact update schedule and available packages depend on what Ubuntu offers to the installed system.
What comes installed, and what can be added
The default application set covers basic desktop use. Firefox is the web browser, Nautilus manages files, and system utilities include a terminal, a disk usage analyzer, a backup tool and a text editor. Firefox may feel slow on a Raspberry Pi; Chromium is one alternative to try if browser responsiveness becomes a problem.
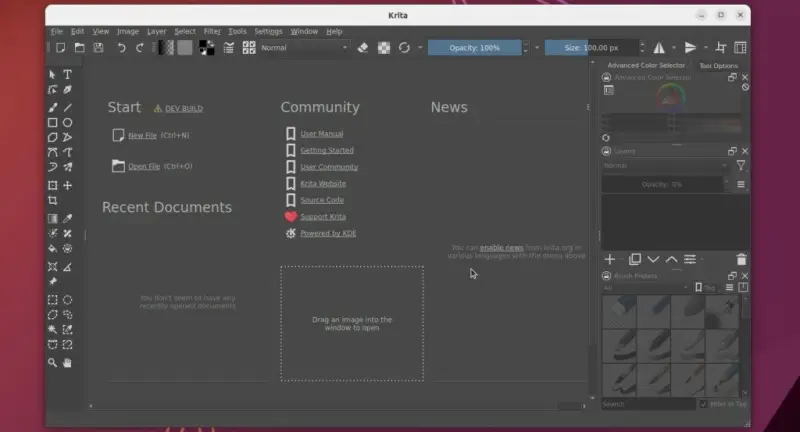
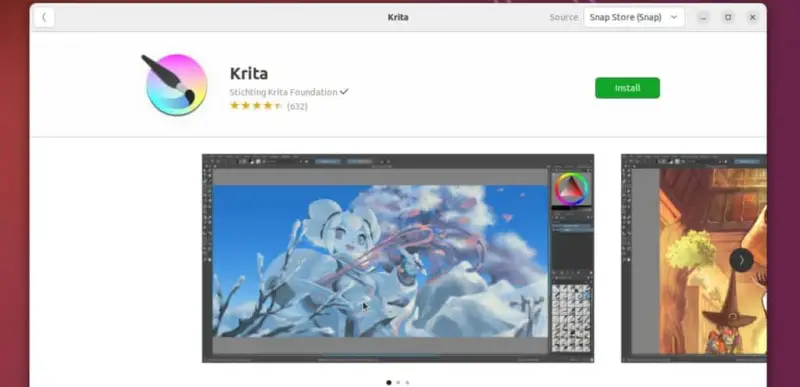
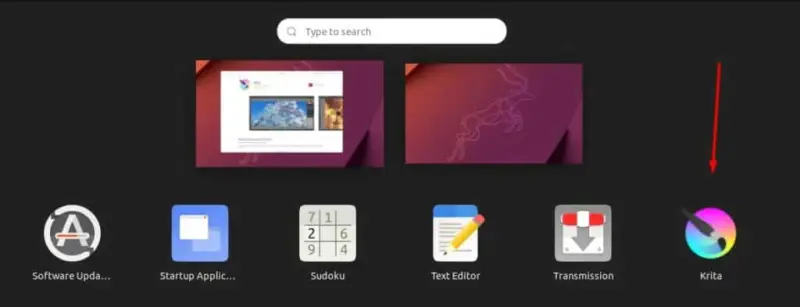
Ubuntu Software provides a graphical way to find and install applications. Search by application name or by task—for example, looking for an image editor can show multiple options. Listings may include descriptions and screenshots. Select an application, click Install, and enter the account password to authorize the change. Once installed, it appears in the applications list.
Application compatibility and performance still depend on the Pi’s processor, memory and software support. Some programs may run slowly, fail to install or not start because they don’t support the Raspberry Pi architecture. Trying a candidate application is the way to find out whether it suits a particular board.
For users who want a larger selection of desktop software, the source gives this command to install the recommended Ubuntu Desktop package set:
sudo apt install --install-recommends ubuntu-desktop
That set includes Thunderbird for email, LibreOffice for documents and spreadsheets, Rhythmbox for music, Shotwell for photo organization, Remmina for remote access, and Transmission for torrent downloads. These packages aren’t required to use the desktop; install only what fits the intended workload and available storage.
Use APT when you know the package
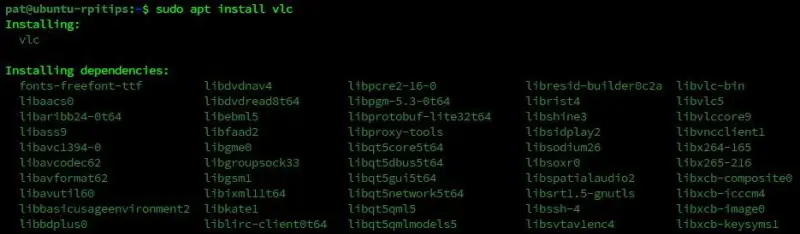
The graphical store is useful for browsing, while APT is efficient when you already know the package name or prefer the terminal. Ubuntu is based on Debian and uses APT, as Raspberry Pi OS does. First refresh the package lists:
sudo apt update
Then install a package with sudo apt install <package>. For example, VLC can be installed with:
sudo apt install vlc
These commands provide a direct route to software in Ubuntu’s package repositories. The package name matters, and not every desktop application will be available for every Raspberry Pi architecture.
Choosing Ubuntu for a Pi desktop
Ubuntu Desktop is a reasonable choice when the goal is a general-purpose computer experience on a Raspberry Pi, especially for users already familiar with Ubuntu. The trade-off is the higher hardware demand compared with Raspberry Pi OS. A Pi with at least 4 GB of RAM, suitable storage and adequate power gives the desktop a more appropriate starting point.
Once setup and updates are complete, the next decision is workload: use the default applications for a light desktop, add programs through Ubuntu Software when you’re exploring, or use APT for known packages. That combination makes it possible to build a Pi desktop around the tasks it will actually handle.
 AMD Venice Uses 2.5D Packaging to Feed More Bandwidth Into EPYC Zen 6
 CNC Controller Board Design: Interfaces, PCB Specs and Assembly Testing
 Stratasys and Nano Dimension End $42.5 Million Markforged Sale Agreement