Setting Up Kodi on Raspberry Pi with OSMC: Install, Media Sources and Add-ons
Flashing OSMC to a Pi, first-boot setup, adding media over USB, network shares and SFTP, and how Kodi add-ons differ by source and licensing.
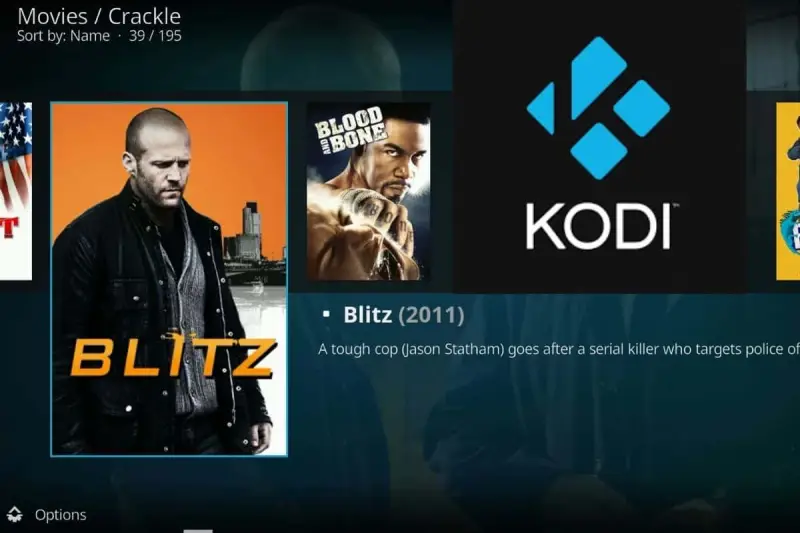
OSMC is the piece that turns a Raspberry Pi running Kodi into something that behaves like a set-top box instead of a general-purpose Linux machine with a media player bolted on. It's a lightweight distribution built specifically to run Kodi, and once you've got it flashed, most of the setup work is about media sources and remote access rather than the operating system itself.

Kodi is the front end you'll actually use. Think of it as the layer that browses your library the way a music app browses playlists. It plays video, music and other digital media from local storage, network storage or the internet. If you already run Raspberry Pi OS, you can add Kodi on top with sudo apt install kodi from the default repository. The trade-off is that you're then running a full desktop system just to watch films, which is why a dedicated image like OSMC or LibreELEC is usually the cleaner route for a TV box.
OSMC or LibreELEC for a TV box
If your goal is to turn an existing dumb TV into a smart one, a dedicated operating system does the heavy lifting. Both OSMC and LibreELEC produce a polished set-top-box experience around Kodi. The choice between them is a matter of preference more than capability, and the OSMC wiki and the comparison guides on the same site cover the differences in more detail. This walkthrough sticks to OSMC.
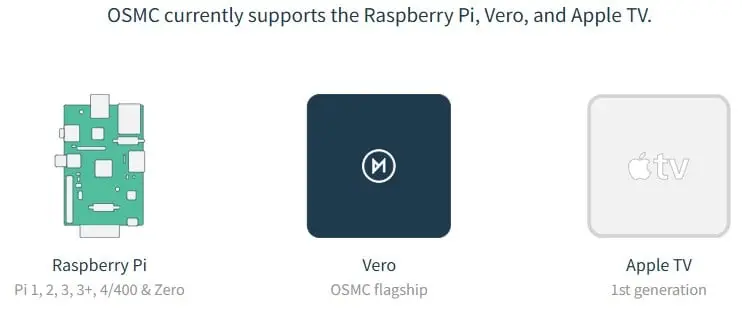
OSMC is described as easy to install on any Raspberry Pi model, which is a useful property if you're repurposing older boards. It also covers a practical point: because the image is tuned for Kodi, you don't spend your first afternoon removing things you'll never use.
There's also a portability angle. The same Pi and the same media library can travel with you, so you can use it at home, at a parent's place, or in a hotel, with the same content on whatever TV is in the room.
Hardware worth buying for this setup
The hardware picks are modest, and the reasoning behind them is the more interesting part:
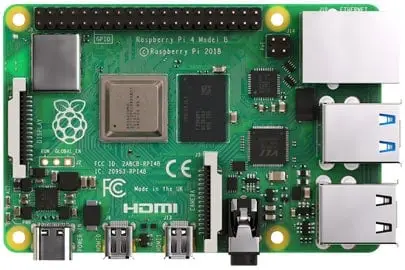
- Raspberry Pi 4. The argument is that you don't need more power for playback. A Pi 4 is a sensible, affordable choice, and it can stay plugged into the TV permanently.
- Flirc USB receiver. This lets you use any universal remote with the Pi, which is more convenient than reaching for a keyboard to change channels. It's the piece that makes the Pi feel like a TV appliance. The Flirc receiver is available on Amazon.
- Harmony remote. One remote for the whole setup, and it pairs well with the Flirc receiver. The smartphone app is a useful extra.
- A large SD card. If you keep your media on the device rather than streaming it, storage is the constraint. The guide lists capacities from 32GB to 1TB, and recommends a large card if you don't use online streaming services much.
The SD card point deserves a second look. Local storage on the Pi is convenient, but it's the first thing you'll outgrow if your library is video-heavy. A network share, covered below, avoids that problem entirely.
Three stages, two ways to flash
The installation has three stages: download the OSMC installer or image from the OSMC download page, flash it to your SD card, then insert the card into the Pi and start it to complete the initial configuration. Everything else is detail around those three steps.
There are two routes to flashing. The first is the official OSMC installer, which runs on Windows, macOS and Linux and walks you through creating the card. The second is to download the image file for your board and write it with Raspberry Pi Imager or another tool. The end result is the same either way. The choice comes down to what you want configured up front.
The installer lets you set things like networking before first boot. If you're on Wi-Fi only, or you need a static IP address, that's the stronger option. The guide also notes that the installer is currently the only route it found that works for installing to a USB stick, so if you want to boot from USB, that settles the question. For most people, Raspberry Pi Imager is the simpler path, since nothing new has to be installed on your computer.
Method 1: the OSMC installer
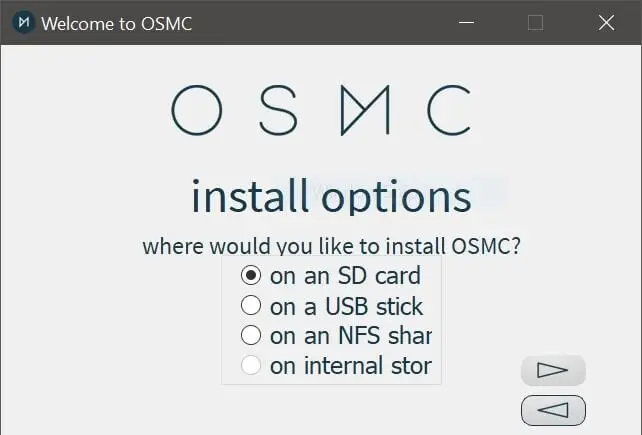
Start from the OSMC download page and click the icon for your PC's operating system. Run the downloaded file and the wizard opens. It asks the following, in order:
- Welcome: select your language, then your device (Raspberry Pi) and model.
- Select version: pick the latest version available.
- Install options: several are offered. Use the SD card or USB stick for a first attempt.
- Networking: this matters if you're on Wi-Fi or lack DHCP. Select the connection method, then tick "configure network manually" to enter details such as the Wi-Fi SSID and IP address.
- Media selection: insert the SD card or USB stick and select it from the list.
- License agreement: accept the license.
The installer then downloads and writes OSMC to your media. When it finishes, skip ahead to the first boot section.

Method 2: Raspberry Pi Imager and a custom image
If you prefer the manual route, open the Downloads page on the OSMC site, click Disk images to expand the list, and choose the latest image for your Raspberry Pi. You then write it with Raspberry Pi Imager, which you can download from the Raspberry Pi site if you don't already have it. The guide calls the Imager a must-have for any Pi user, since you'll use it for every new operating system.
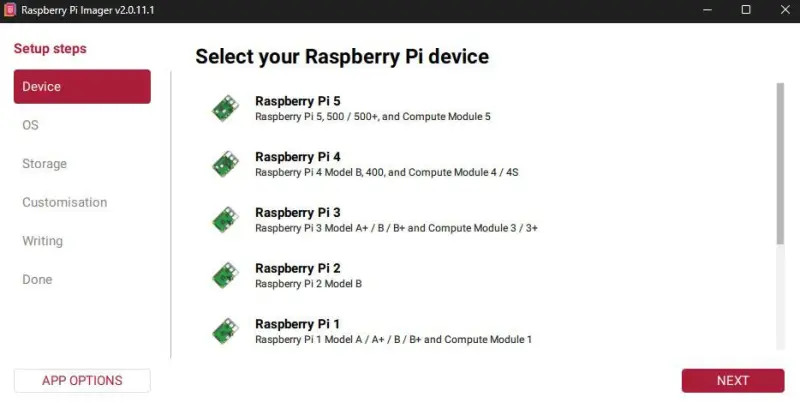
The sequence in Imager is:
- Device: select your Pi model.
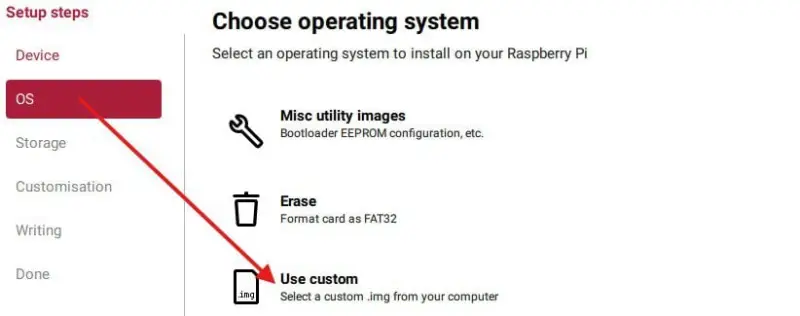
- OS: scroll to "Use custom" at the bottom, then select the image file you downloaded.
- Storage: select the SD card.
- Writing: check the summary, then hit WRITE.
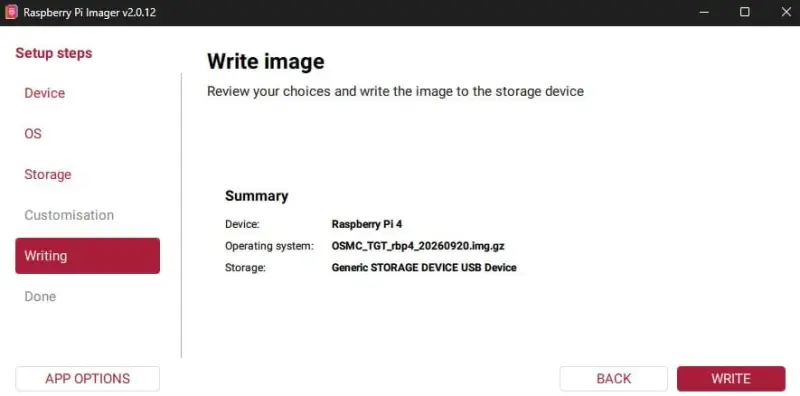
A few moments later the media is ready. Because Imager doesn't prompt for network details, you'll be configuring Wi-Fi or addressing through the wizard on first boot instead.
First boot and the setup wizard
Insert the SD card or USB stick into the Pi and power it up. The splash stage is automatic. OSMC formats the media, copies files and reboots when the progress bar completes. You don't need to touch anything during this phase.

After a few minutes the Welcome menu appears, and it asks for your preferences:
- Language: sets the Kodi interface language.
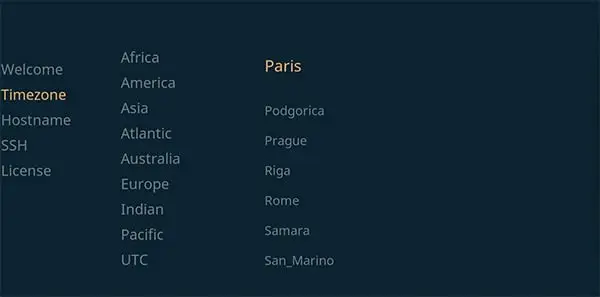
- Timezone: select the continent and city. The guide found this menu unintuitive with arrow keys. Using the touchpad on a Bluetooth keyboard made it much easier, since the menu appears built for a mouse.
- Hostname: keep the default or pick your own.
- SSH: enabled by default, and the guide recommends leaving it on. You can disable it later if you don't use it.
- License: accept and continue.
- Look: choose one of two themes. The guide uses "Classic," and you can change it later.
- Sign Up: optional. Skip it and exit the wizard.
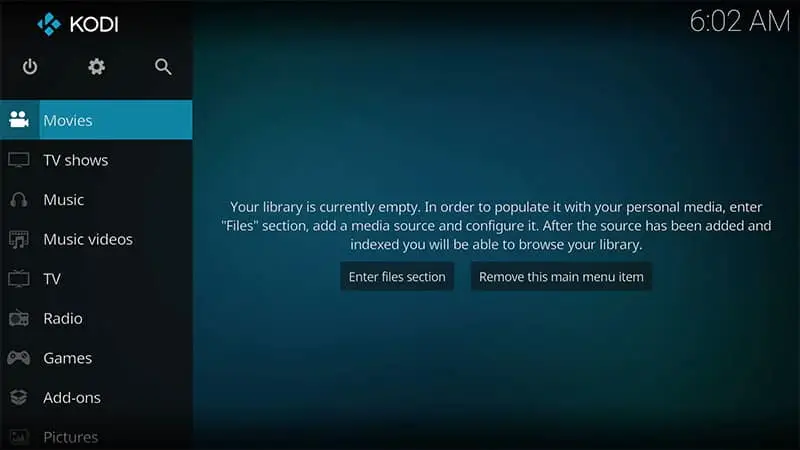
When the wizard finishes, the Kodi interface takes over. The guide is candid that the line between OSMC and Kodi is blurry. Settings you'll find there belong to one or the other, and you don't need to know which is which to use them.
Getting media onto the Pi
Right after installation, the Movies, Music and other media entries are empty. There are several ways to populate them, and the right one depends on where your files already live.
USB drive
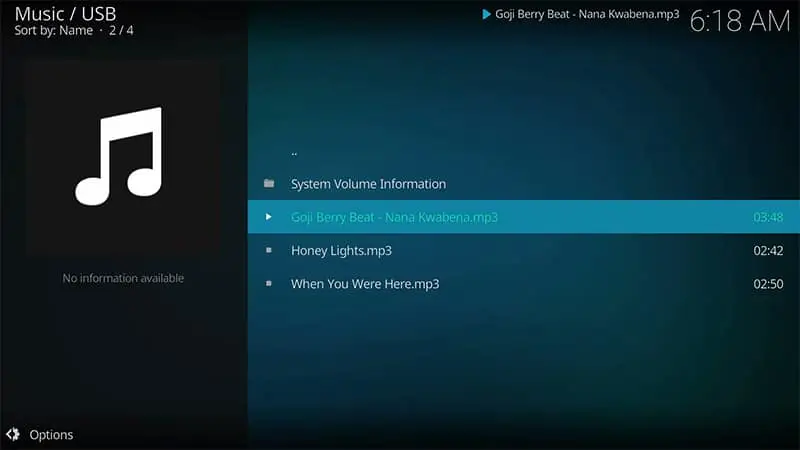
This is the most common route, particularly if your photos or films sit on an external drive. Plug the drive into the Pi and OSMC mounts it automatically, and the files appear in the menus. The guide's example is Music > Files > USB, where MP3s play directly from the drive.
Copying files from the drive onto the SD card is a separate step, and it isn't done from the file menus. Instead:
- Go to Settings > File Manager.
- Select your file in the left panel and choose a destination folder in the right panel. The first time, you may need to click "Add source" and add a folder such as Home > Music.
- Right-click the file and choose "Copy."
Network share
If you have a NAS or a shared folder on another PC, Kodi can play media directly over the network. Go to Movies > Add videos (or the relevant media type), click Browse and follow the wizard to find the share.
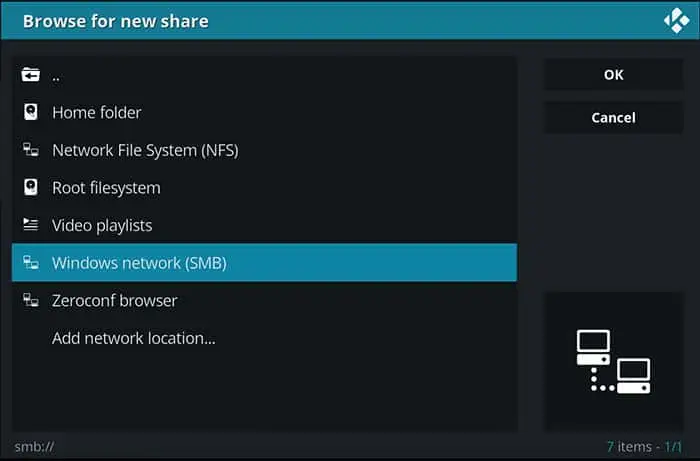
Kodi handles several server types, including SMB, NFS and HTTP. If guest access isn't allowed on your share, entering the network location directly is probably the only option. The syntax for each type is documented on the Kodi wiki. Once the source is added, you can reach that server's media from the Kodi interface or the web interface.
This is the approach that avoids the SD card size problem entirely. The Pi becomes a playback endpoint, and the storage lives where it's cheap to expand.
File transfer over SFTP
The guide's preferred method, when storage sits on the Pi, is transferring files over SFTP. SFTP comes with SSH, which is enabled from the setup wizard. You can connect with Termius, WinSCP, FileZilla, or rsync and scp on Linux.
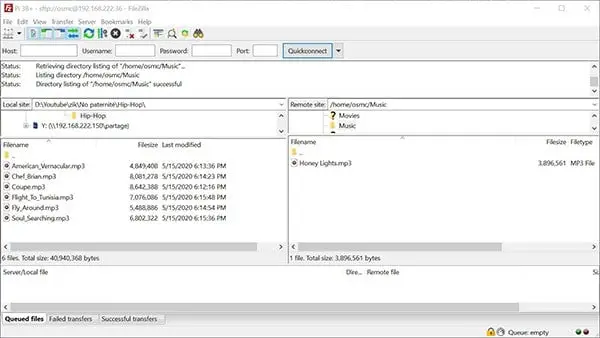
You need the Pi's address, which you'll find under Settings > System information. The default username and password are both osmc. Once connected, put files in the directory that matches the media type: Movies, Music, Pictures or TV Shows, under /home/osmc. The guide also notes that you can open a port in your router with NAT to transfer files from another network over the internet, though that's a decision with security implications you should weigh first.
If you copy files into, say, /home/osmc/Movies and they don't show up in Kodi, the fix is to add that folder as a new media source. Go to Videos > Files, select Add videos, click Browse and choose Home folder > Movies, submit, and exit. Return to Videos > Files and pick the new source. Repeat for each media type you use, such as Pictures and Music.
Web interface and remote access
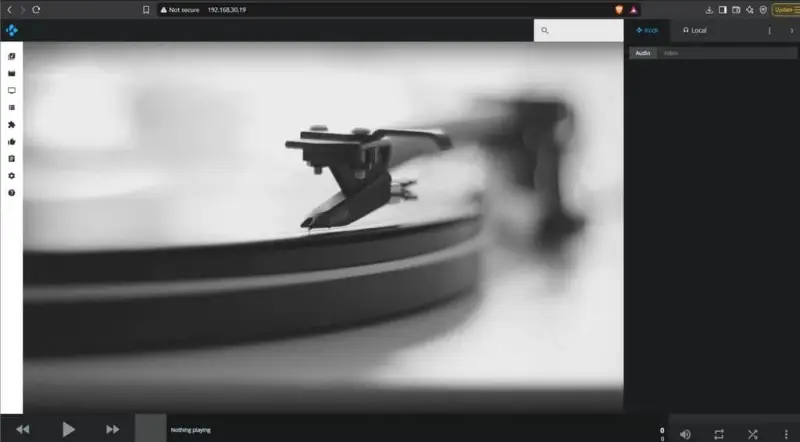
Kodi's web interface is available straight after installation. Type the Pi's IP address into a browser on the same network, in the form http://X.X.X.X. The interface is responsive, so it works from a tablet or phone, which is handy for queuing content without the remote.
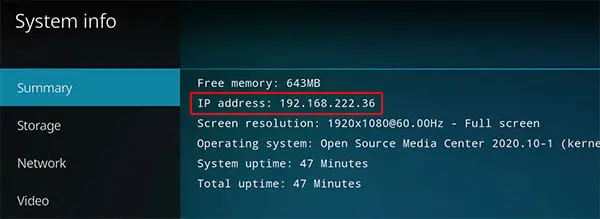
Finding the IP address has four routes:
- If you set a static address in the OSMC installer, you already know it.
- In the OSMC menu, open Settings (the icon at the top) and then "System information."
- From another computer on the network, check your router's admin page, which usually lists connected devices and their addresses.
- Use a network scanner, as described in the site's article on finding a Raspberry Pi's IP address.
SSH access
Because SSH was enabled in the wizard, you can log in remotely. On Windows, Termius or PuTTY will do the job. On Linux and macOS, the ssh command is already available. Connect to the IP address with login osmc and password osmc.
Change that password immediately. The guide recommends running passwd once you're connected. Default credentials on any networked device are a known weak point, and on a box that's often reachable from your home network, it's worth closing that gap on day one.
Once you're in, the system is basically Debian-like, so existing Debian skills carry over. That's useful if you later want to script transfers, schedule tasks or troubleshoot without touching the TV interface.
Kodi add-ons and where the licensing line sits
Kodi's real appeal is add-ons. An add-on works like an app on a phone: it extends what the player can reach. Without a store to draw from, a media player is limited, and add-ons are what make the platform broad. But the same openness means add-ons range from fully licensed services to content sources you should think twice about. The guide sorts them into three tiers.
Official repository add-ons
These come from Kodi's official repository, and the guide treats them as safe to use. The first one it covers is YouTube. To install it, go to Settings > Add-ons, select Install from repository > Video Add-ons, find YouTube (pressing the up arrow jumps to the bottom of the list), select it, choose Install and confirm.
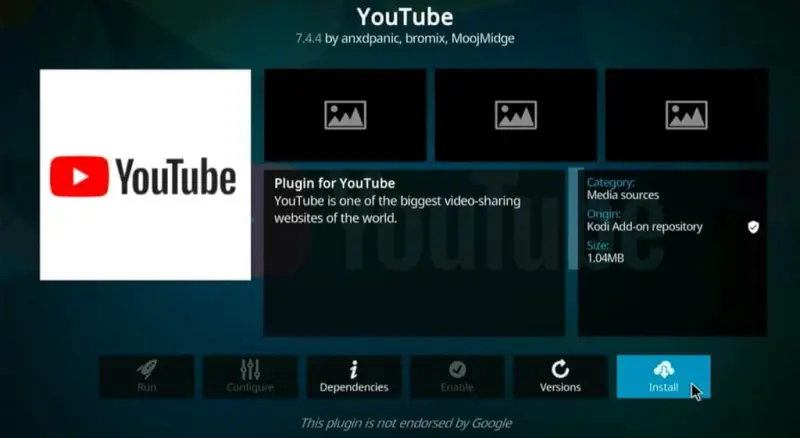
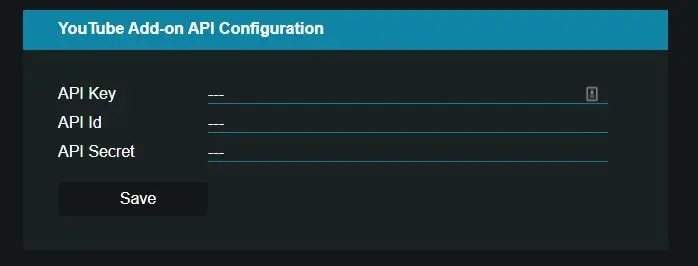
YouTube won't work out of the box. It needs an API key, which means creating a project in the Google developer console. The guide calls that process long and skips it, pointing readers to a third-party tutorial instead. Once you have the credentials, don't type them directly on the Pi. Enable the web configuration page and enter them at http://IP:50152/api from a browser. On first launch you'll be asked about language and country, and you can sign in to your account if you want to.
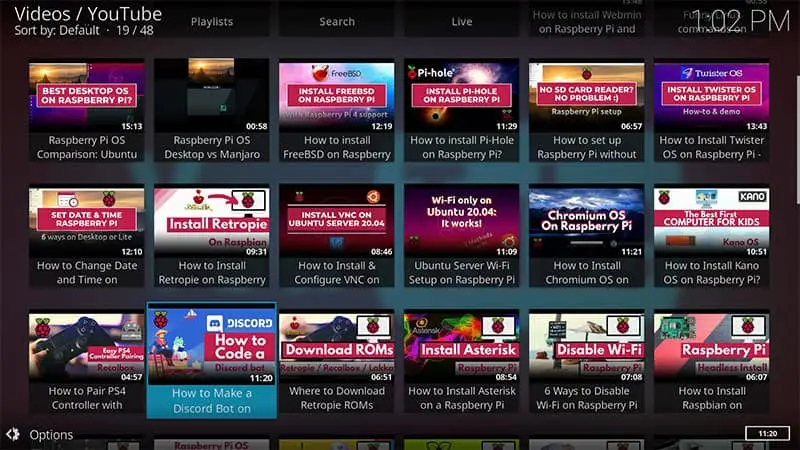
The guide's verdict on the interface is blunt: it's not extraordinary, but it works for finding and watching videos. The example shown is a YouTube channel loaded inside Kodi.
SoundCloud is simpler. Go to Settings > Add-ons > Install from repository > Music Add-ons, install it, and it appears under the main menu's Add-ons > Music add-ons. It needs no API key.
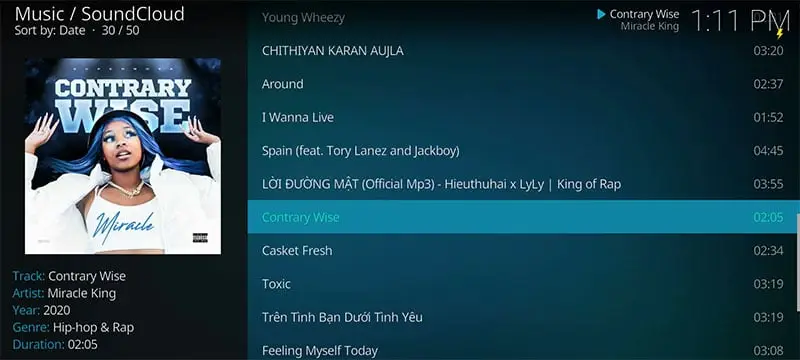
The broader point is that anything in the main repository is easy to install and used on licensed terms. The guide's advice is to browse that catalogue and install what you need before moving to the less certain tiers.
Grey-area add-ons
The guide describes an add-on as grey once it requires adding a new source or installing from a zip file. Before getting into those, it recommends a VPN. The reasoning is that a VPN encrypts and anonymises traffic leaving the Pi, and it can reach content that isn't available in your country. The guide says the choice of provider comes down mostly to budget, since most reputable options do the job, though some solutions don't work on Raspberry Pi. It also suggests keeping an eye on news about your provider, noting that some providers have been accused of logging user activity. Install the VPN client on Kodi by following the provider's own instructions.

Spotify is the next example. Spotify has no official app in the Kodi repository, so it comes from a third-party source, and a premium Spotify account is required for third-party apps. The guide's steps use the Resonance add-on:
- Download the repository zip. Get the latest zip from the repository's page, copy it to the Pi with FileZilla, or pull it straight over SSH with
wget https://nigel1992.github.io/kodi-repository/repository.nigel1992.zip. Keep it in a dedicated folder, such as/home/osmc/Downloads. - Add the repository. Go to Settings > Add-ons > Install from zip file. Zip installs are disabled by default, so if you hit an error, enable Unknown sources first. Browse to the download path and click the file.
- Install Resonance. Go to Add-ons > Install from Repository > Nigel1992 > Music Add-ons, click Resonance and install it.
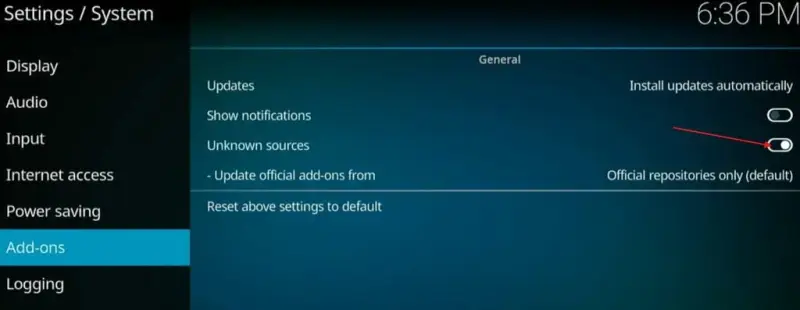
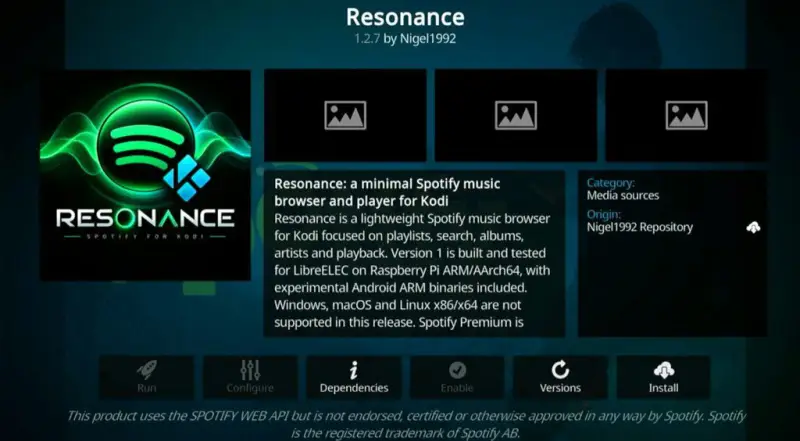
Resonance then appears under Music Add-ons. On first start it may ask you to finish setup, and you should complete those steps. Restart the Pi to apply the changes, then log in to Spotify. An alternative route through an external repository is covered in the site's separate Spotify tutorial.
Pluto TV follows the same pattern through a different repository. Pluto TV is owned by Paramount and provides a free streaming service for TV series and films. The steps are:
- Download the repository zip from the SlyGuy site and transfer it to the Pi.
- Go to Settings > Add-ons > Install from zip file, browse to the zip and install it.
- Go back to Add-ons > Install from repository, click "SlyGuy Repository," then open the Video add-ons subfolder, which holds several other add-ons alongside PlutoTV.
- Click PlutoTV, choose Install, and confirm the dependency prompt.
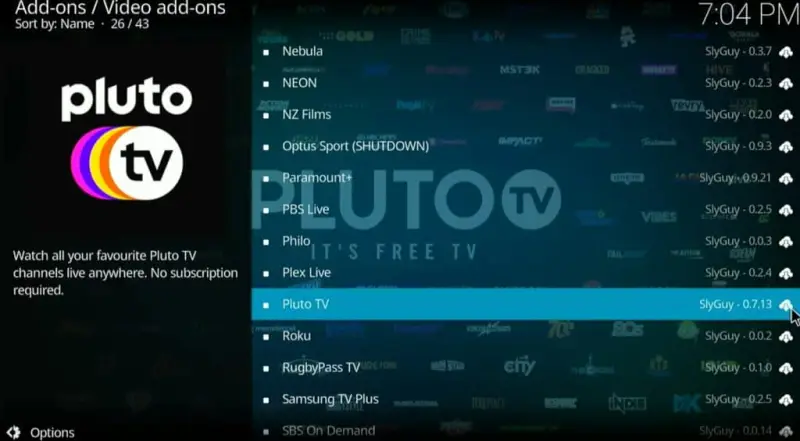
PlutoTV then sits under Add-ons > Video add-ons.

The guide doesn't list every grey add-on, and that's deliberate. The useful lesson is the mechanism: a zip install or a third-party repository gives Kodi a new source of code, so you're trusting whoever maintains that source. Install only what you can trace back to a maintainer you're willing to trust.
Add-ons the guide says to avoid
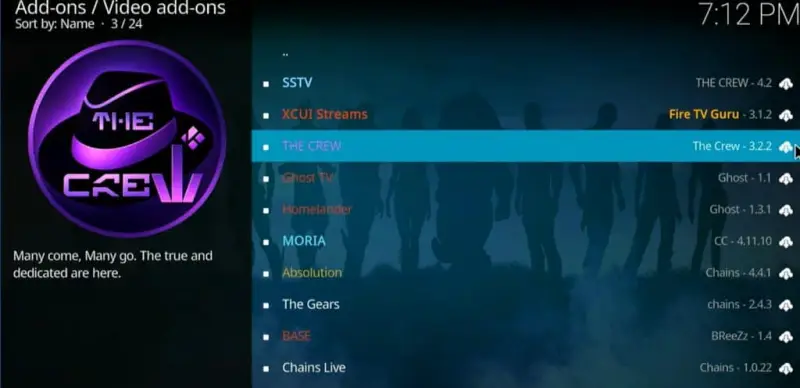
The guide names TheCrew, Umbrella and Elementum as add-ons to avoid. They're presented as ways to watch movies and TV shows for free, and the guide's position is that this content is rarely free to license, so these add-ons are not legal. It also cautions that depending on your country, using them can carry legal consequences. Its broader question is a fair one to ask of any add-on: if the service is free on your PC too, and you don't pay for it anywhere, why would you expect it to be licensed?
What to take from this setup
The workflow comes down to a few decisions. Pick the flashing route that matches your network needs: the installer if you need Wi-Fi or a static address configured up front, or Imager if you want the simplest path. Change the default SSH password on first login. Keep media on a network share if the SD card is going to be the bottleneck. Then treat add-ons as trust decisions, not just features, since every new repository extends what the box will run.
The next thing to watch is how the add-on ecosystem handles third-party repositories and API-key-based services like YouTube, because those two areas drive most of the setup friction on Kodi. For reference material, the OSMC Wiki and the Kodi Wiki cover the details this walkthrough had to skip.
 ProMateria Opens Metal Additive Plant, Starting With GMH Spare Parts
 Q.ANT's Photonic NPU Runs Fourier Transforms in Light for AI Workloads
 SiTime's FemtoClock 4 and VersaClock 8 Target AI Data Centre Timing